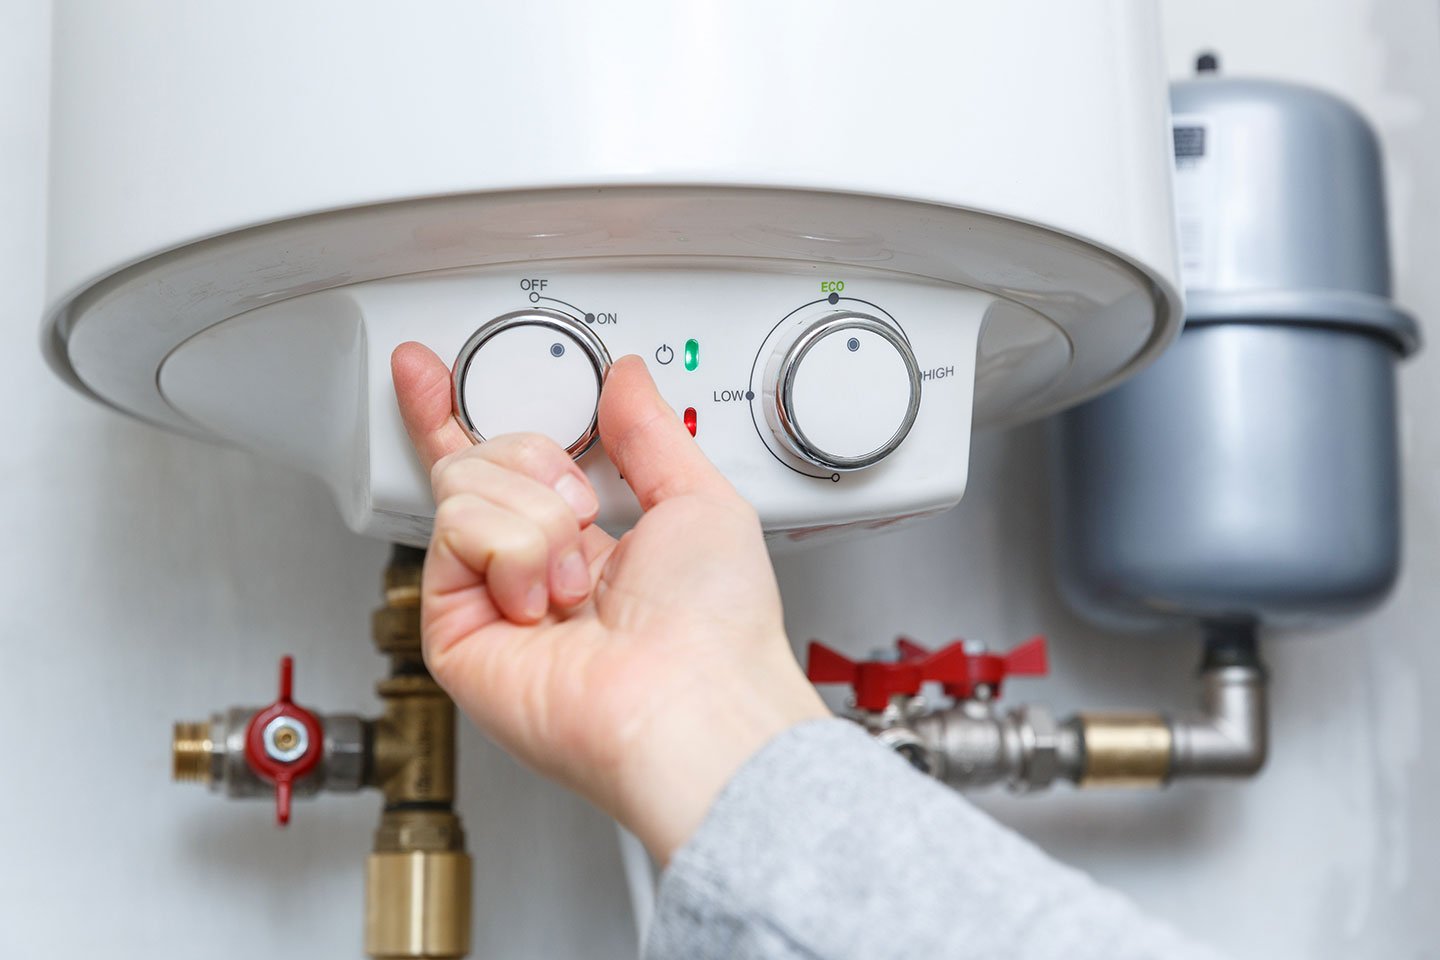
Maintaining your water heater is essential for ensuring its efficiency, extending its lifespan, and preventing costly repairs. Whether you have a traditional tank model or a modern tankless system, regular maintenance can keep your water heater running smoothly and efficiently. Here’s a detailed guide on how to properly maintain your water heater.
1. Regular Inspection
Performing regular inspections is the first step in maintaining your water heater. This allows you to catch potential issues before they escalate into significant problems.
Check for Leaks
Inspect the area around your water heater for any signs of leaks. Look for puddles, damp spots, or rust around the unit. If you notice any leaks, it’s crucial to address them immediately, as they can lead to more significant damage and increased water bills.
Examine the Pressure Relief Valve
The pressure relief valve is a safety feature designed to prevent excessive pressure buildup in the tank. To test it, lift the lever to release some water. If water doesn’t flow freely or the valve leaks after testing, it may need to be replaced.
2. Flush the Tank
Flushing your water heater is vital for removing sediment buildup, which can reduce efficiency and damage the unit over time. Sediment, primarily composed of minerals, can accumulate at the bottom of the tank and lead to overheating and corrosion.
Steps to Flush the Tank
- Turn Off the Power: For electric models, switch off the circuit breaker. For gas models, turn the thermostat to the “pilot” setting.
- Connect a Hose: Attach a garden hose to the drain valve at the bottom of the tank, directing the other end to a floor drain or outside.
- Open the Drain Valve: Carefully open the drain valve, allowing water to flow out. Be cautious, as the water may be hot.
- Flush the Tank: Once the tank is empty, briefly turn on the cold water supply to stir up any remaining sediment. Let it drain again until the water runs clear.
- Close the Valve and Refill: Close the drain valve, disconnect the hose, and turn the power back on. Allow the tank to refill before using hot water.
Flushing the tank should be done at least once a year, or more frequently if you live in an area with hard water.
3. Check the Anode Rod
The anode rod is a crucial component in preventing tank corrosion. It is made of magnesium or aluminum and is designed to attract corrosive elements in the water, protecting the tank from rust.
Inspecting the Anode Rod
- Locate the Rod: The anode rod is usually located on the top of the water heater. It may require some tools to access, as it can be secured with a hex head screw.
- Assess Condition: Remove the rod and inspect it for signs of corrosion or significant wear. If the rod is less than half an inch thick or heavily corroded, it’s time to replace it.
- Replace as Needed: Anode rods should be replaced every 3 to 5 years, depending on water quality and usage.
4. Adjust the Temperature Setting
Setting the right temperature for your water heater not only enhances safety but also improves efficiency. The recommended temperature for most households is around 120°F (49°C).
Benefits of Proper Temperature
- Energy Savings: Lowering the temperature can reduce energy costs, as less energy is required to heat the water.
- Scalding Prevention: A lower temperature reduces the risk of scalding, making it safer for children and the elderly.
Adjusting the Temperature
- Locate the Thermostat: For electric heaters, there are usually two thermostats—one for the upper heating element and one for the lower. For gas heaters, the thermostat is typically a dial on the front.
- Make Adjustments: Adjust the temperature to the desired level. If you have an electric model, check both thermostats to ensure they are set to the same temperature.
5. Insulate Your Water Heater
Insulating your water heater can improve efficiency by reducing heat loss, especially if your heater is in an unconditioned space like a garage or basement.
Insulation Options
- Blanket Insulation: Purchase an insulation blanket specifically designed for water heaters. Follow the manufacturer’s instructions for installation.
- Pipe Insulation: Insulating the hot water pipes leading from the heater can also reduce heat loss and improve delivery times.
6. Schedule Professional Maintenance
While many maintenance tasks can be performed by homeowners, scheduling regular professional maintenance is crucial for ensuring the optimal performance of your water heater.
Benefits of Professional Service
- Thorough Inspection: Professionals can identify potential issues that may go unnoticed during a routine inspection.
- Expert Cleaning: They can perform a thorough flush of the tank and check all components, including the pressure relief valve and anode rod.
- Warranties: Many manufacturers require regular maintenance to keep warranties valid, so professional servicing can help protect your investment.
7. Monitor for Signs of Trouble
Being vigilant for any signs of trouble can help catch issues early. Look for:
- Unusual Noises: Sounds like popping or rumbling may indicate sediment buildup.
- Inconsistent Water Temperature: If your water isn’t heating properly, it may be time for a check-up.
- Rusty Water: Rust-colored water may signal corrosion inside the tank.
If you notice any of these signs, consult a professional plumber to assess the situation.
Maintaining a Reliable Water Heater
Proper maintenance of your water heater is essential for ensuring its efficiency, longevity, and safe operation. Regular inspections, flushing the tank, checking the anode rod, adjusting temperature settings, insulating the unit, and scheduling professional maintenance are all crucial steps. By investing time and effort into these maintenance practices, you can enjoy reliable hot water for years to come while minimizing the risk of costly repairs.